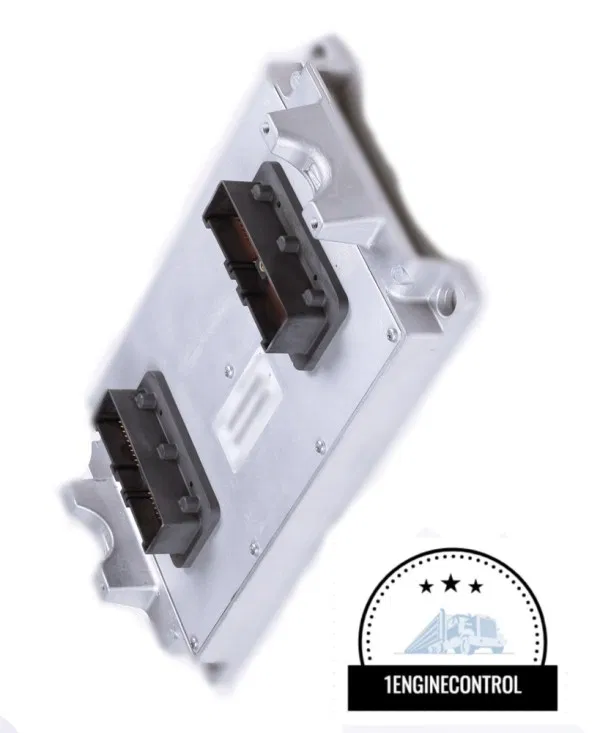
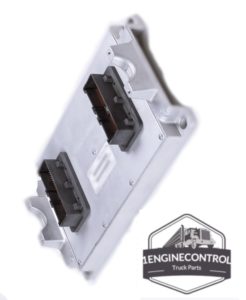
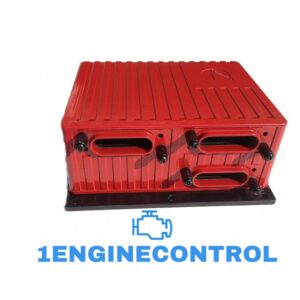
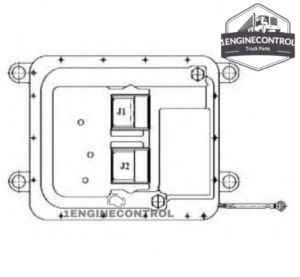
The Engine Control Unit or ECU is the most crucial part of the vehicle’s on-board computer. This unit helps regulate all the other systems and the sub-systems that support the vehicle’s overall operation. So, when the ECU goes wrong, it results in lots of issues that require immediate cure. Some of the ECU’s most common malfunctioning include lit of the check light constantly, irregular fuel consumption, and light on the dashboard even when the vehicle is not running. ECU replacement is highly expensive and time-consuming; hence, you should always help a car mechanic to avail the best service at a reasonable price.
However, if you plan to remove the old ECU and start repairing, you are making a mistake. As ECU or ECM is the major part responsible for the vehicle’s major functioning, you should take help from the car mechanic who will bring out the ECU from the vehicle, repair it, and then again install it back in the right place. The steps involve in ECU repair are-
- Check The ECU Properly
There is no physical difference between all ECU available in the market, for different models from the same manufacturers. If you want to replace the old one, you should buy the new ECU having the exact part number that fits your vehicle. Choosing the right ECU is one of the crucial factors to consider while replacing the old one.
- Unplug The Battery
The next step is unplugging the vehicle’s battery so that there is no such power running in the vehicle circuit. Then allow your vehicle to sit for half an hour after the connection is disconnected. This is done to let all the information gets clear from the memory chips in the computer. The car mechanic performs this to ensure that no old instruction corrupt the new system.
- Removing The Old ECU
Use the car manual to find out the exact location of the ECU. In some of the vehicles, the ECU is found accessible through the passenger compartment in the vehicle. You have to take out the pieces of carpet for accessing this unit. After you found out the ECU, you should remove the bracket and screw that generally hold the unit in that place. Most of the time, the screw is of good quality, so you need to have a screwdriver to remove the same. The last step is to unplug the wiring harness, which is again secured with the single bolt.
- Installing The New ECU
When you remove the old ECU, the vehicle might go to the diagnostic mode that does not easily track down and you might able to perform reset for clearing the issues. If you cannot revive this part in the manner, you should install a new ECU by attaching the wiring harness and then screw back into the housing.
- Reconnecting The Circuit
It is the time for reconnecting the battery and turning on the auxiliary switch on the vehicle’s engine. From this location,the lights come on, but the engine is still not fully engaged for the operation. Allow the vehicle to sit for some time and give 5 minutes for the vehicle to sit and give the computer and ECU some time for configuration. Finally, please turn off the vehicle and then start it again; this time, the vehicle will run smooth.
Many car owners can replace the old ECU, but in the new vehicle models, the functioning is quite difficult, and hence, you should need to take help from a reputed dealer like 1engine Control.

